After downloading the OSpeedy Data Recovery Setup program, you can install/activate it either by clicking the button [RUN] or using Windows Explorer to open the download folder, and then click on the downloaded file named "setup.exe" to start the installation. Please follow the following instructions:
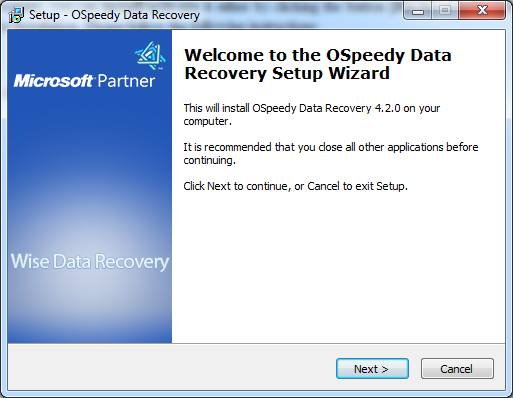
1. On the "Setup- OSpeedy Data Recovery" interface, click the button [Next] to continue.
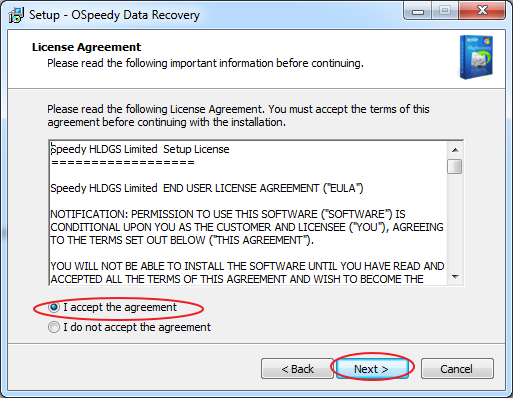
2. On the "License Agreement"interface, tick "I accept the agreement"and then click the button [Next] to continue.
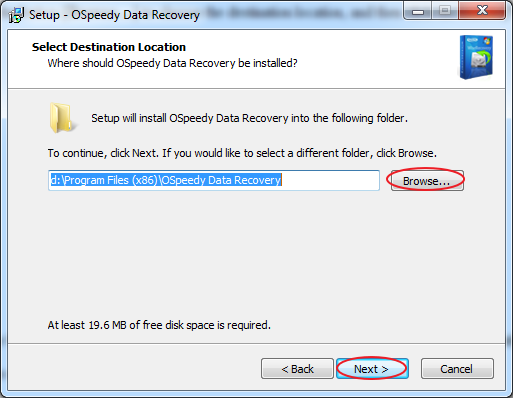
3. On the "Select Destination Location" interface, click the button [Browse…] to choose the destination location, and then click the button [Next] to continue.
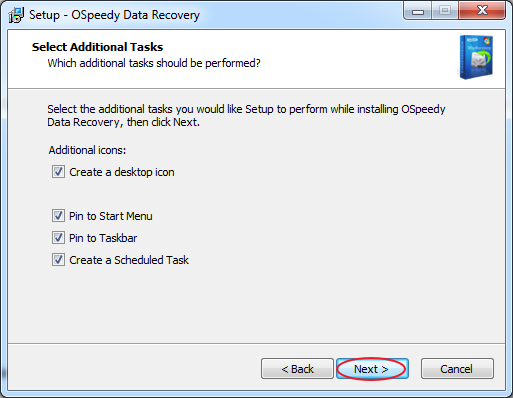
4.
On the "Select Additional Tasks" interface, you can choose to tick
"Create a desktop icon" to create an icon on the desktop,
and then click the button [Next] to
continue.
5.
On the "Ready to Install" interface, click the
button[Install] to continue.
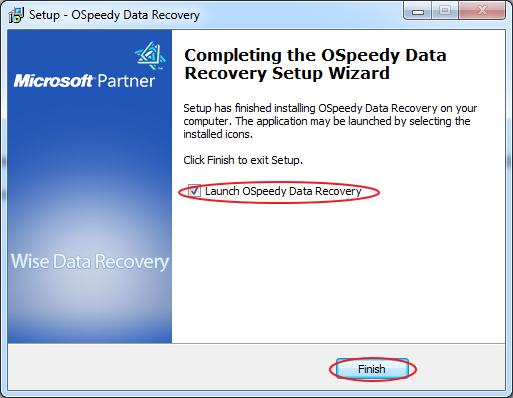
6.
On the "Completing the OSpeedy Data Recovery Setup Wizard" interface, click
the button [Finish] to exit the set-up and launch
OSpeedy Data Recovery.
Note: If you do not want to launch
OSpeedy Data Recovery, you can also choose to uncheck "Launch
OSpeedy Data Recovery".