Step1.Download the Photo Genius from the following link:
http://www.ospeedy.com/buy/batch-photo-processor
Step2.Install Batch Photo Processor into your computer with reference of Installation reference….
Step3.
a) Click [Buy Now], and then the purchase interface will appear (see Picture1).
b) Click [Activate]to open the activate interface, and then activate the software by inputting the “Code”, and then click the[OK]button(see Picture2) to get the registered version of Batch Photo Processor.
Note: The trial version of Batch Photo Processor will leave a visible watermark on each photo processed.
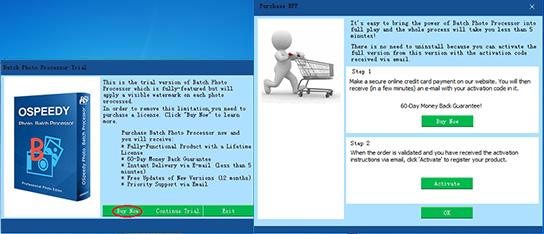
Picture 1
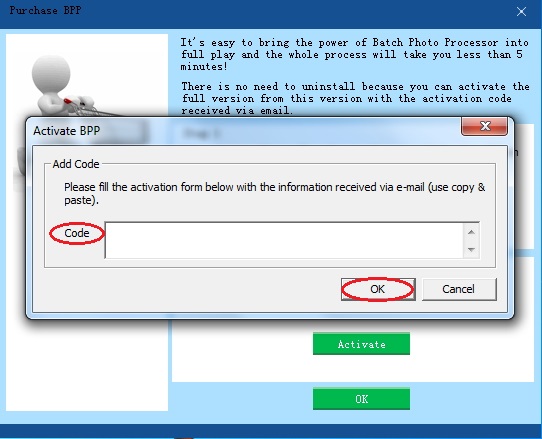
Picture 2
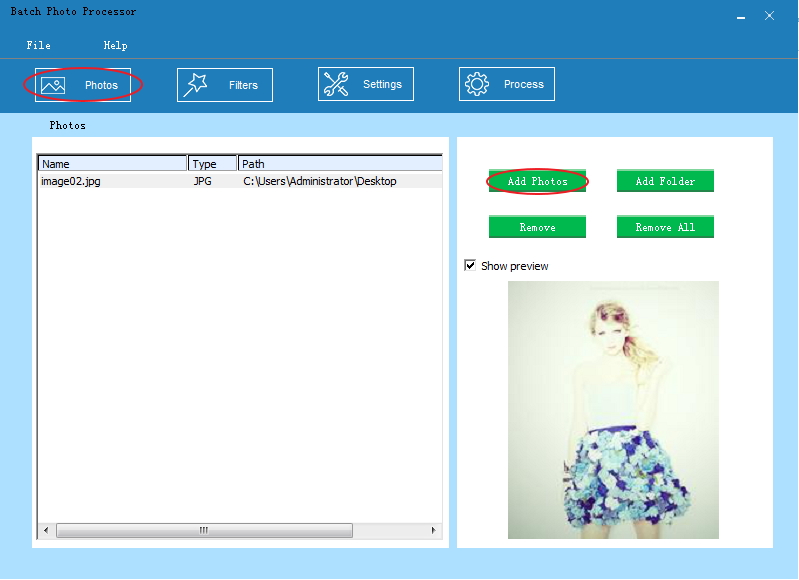
Step4.Click [Photos] on the top toolbar, and thenclick [Add Folders]on the right side to add the photos you want to process.
Step5.
a) Click [Filters] on the top column, and then click [Add Filter] in the middle column (see Picture1) to open the “Select Filters” interface
b) Choose one filter you want to add to your photo and click [Add] to add filter effect (see Picture 2).
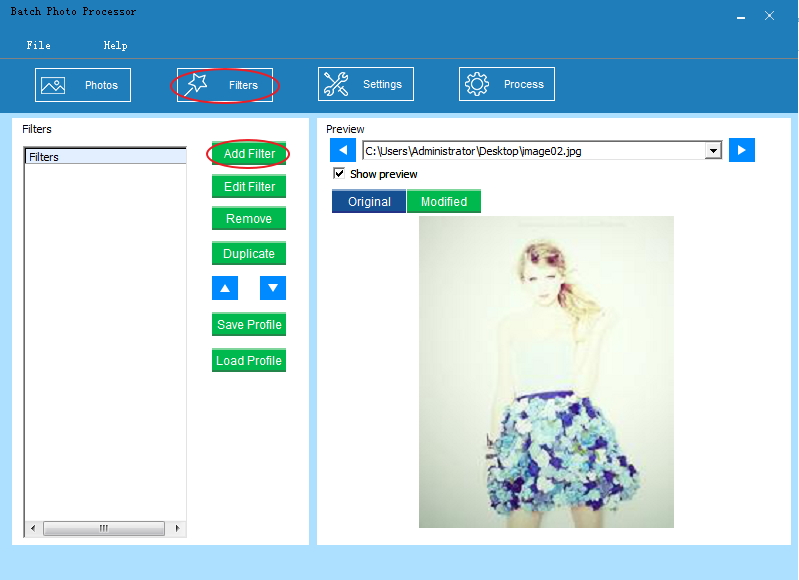
Picture 1

Picture 2
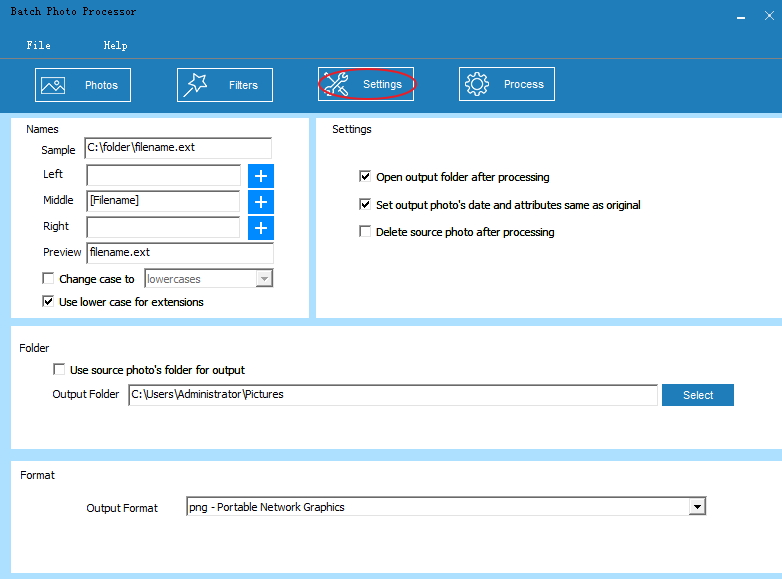
Step6.Click [Settings] on the top column to set the output folder and format.
Step7. Click [Process] on the top column to start processing.
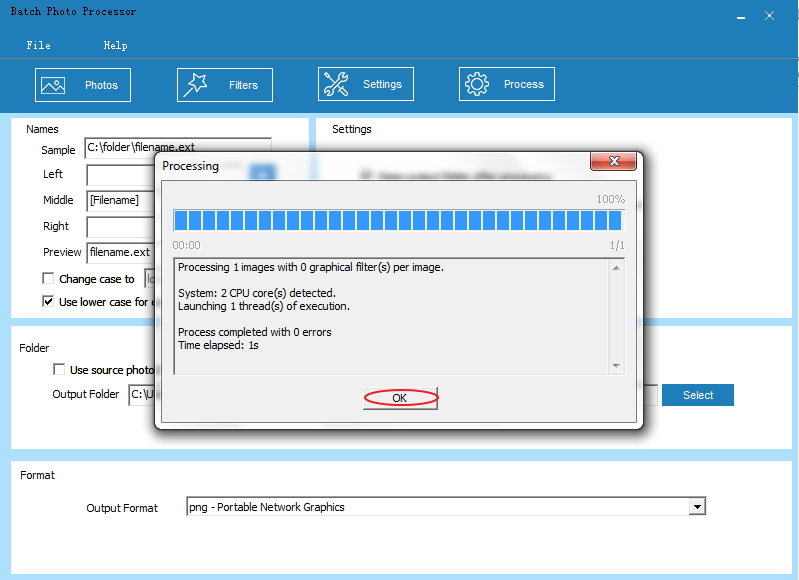
Step 8. Click [OK] to finish the processing.