
Home » OSpeedy Resource Articles » How to Recover Deleted Files from Your Computer on Mac OS X

Founder and CEO, Market Domination Media
Posted: 2016-09-06 04:12:25 Updated: 2016-09-06 04:12:25
Step 1 Check your Mac's Trash
The Trash section of your Mac holds files before they are permanently deleted. If you find the file in your Trash, you can restore it to its original location or drag it to somewhere else on your computer.
Step 2 Immediately stop accessing the drive
If your files are not found in the Trash, don't save or delete anything from your computer. Your chances of recovering the file are much higher if you don't save anything new. This is because when a file is deleted, it is actually just set to be overwritten. If no new data has overwritten the original file, then it can usually be recovered.
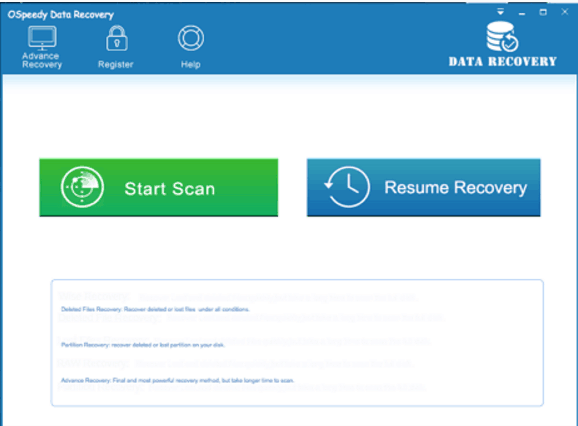
Step 3 Download a data recovery program
Do not download or install the program to the same disk that you are trying to recover files from. There are a variety of programs available for Mac OS X that will allow you to search for deleted files. Some of the more popular programs include:
Data Rescue
FileSalvage
Boomerang
There are very few free options when it comes to OS X data recovery software.
Step 4 Boot from your recovery software image
Some data recovery programs come with a bootable image that bypasses the OS X operating system. Booting from this image may allow your data recovery software to find more files.
Insert the bootable disc into your Mac.
Restart the computer while holding the C key.
Hold the C key until the Apple logo appears. Your computer will load directly into the data recovery program.
Step 5 Connect a recovery drive
In order for Mac recovery software to work, you will need to attach a USB drive, or designate a separate internal drive. If you are connecting an external drive, make sure that it is at least a USB 2.0, USB 3.0, or Firewire device, as USB 1.0 will result in much slower processing.The connected drive should have at least 2% of the target drive's storage space.
Step 6 Specify your scan settings
You will be asked to choose where you want to scan for files, so be sure to choose the hard drive that the files were originally located on. You will also typically be given an option between a Quick scan or a Deep/Full scan.A Quick scan will find most of the files that can be recovered, and the process is usually fairly quick. It is recommended that you try a Quick scan first.A Deep scan will find more files than a Quick scan, but takes significantly longer to perform. For large hard drives and slow computers, a Deep scan could take over a day to complete.
Step 7 Select the files you want to recover
Once the scan is finished running, you will be presented with a list of files that can be recovered. Use the Preview option to ensure that the file is completely intact before marking it for Recovery.File names will often be changed from their original because their filer structure was destroyed during the delete process.Many files will not be recoverable, because parts of the file have been overwritten.
Step 8 Recover your files
If you are attempting to recover a large number of files, try recovering only the most essential files first. This will help ensure that your most important files stay uncorrupted. The recovered files will be copied to the recovery drive that you plugged in before starting.

Driver Updater
Driver Updater was created to save your time resolving driver problems by providing you with a single, automatic tool.
Compatible with Windows 7/8/8.1
Follow Us